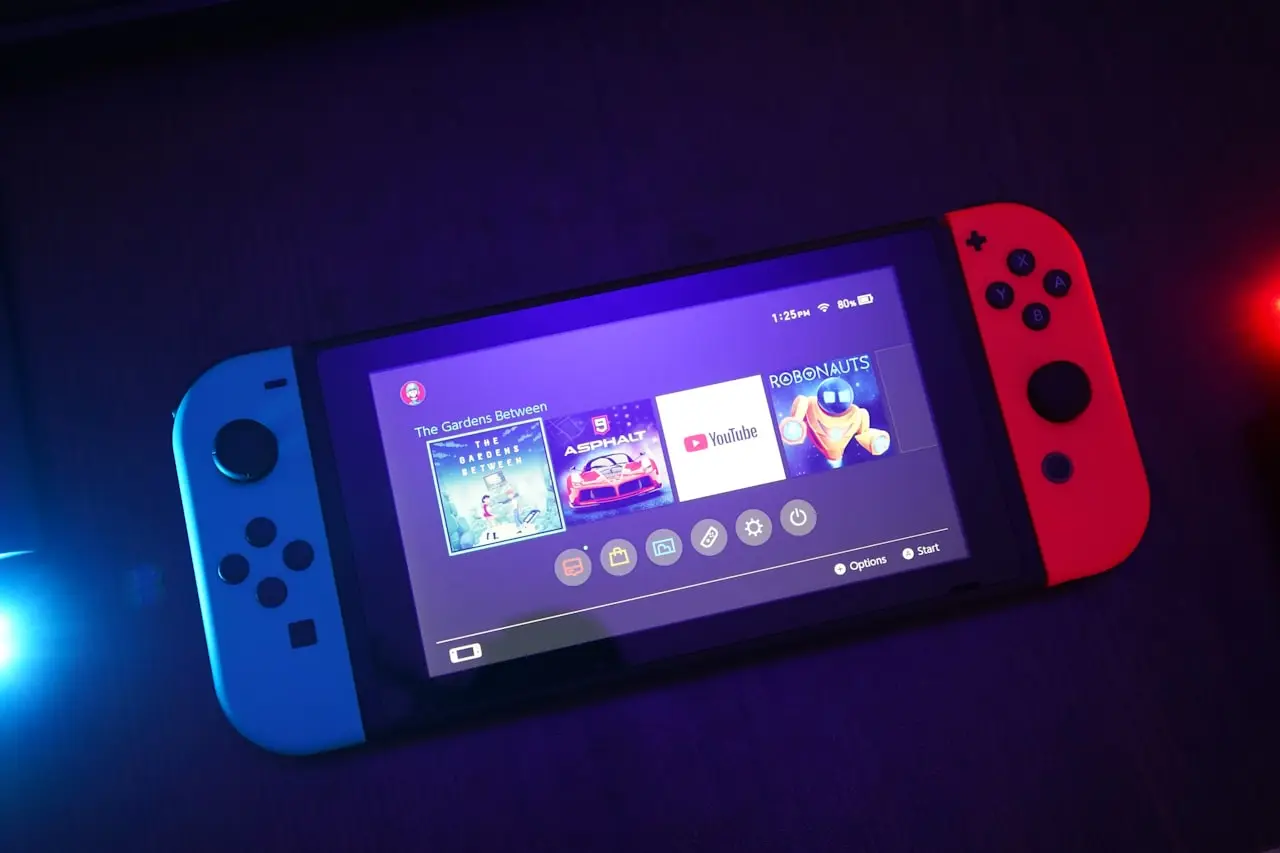
Switch Joy-Con Drift Fix: Diagnose, Clean, Replace
Nintendo Switch Joy-Con analog drift — calibration, button combos, compressed air, replacement sticks, and when to send Joy-Cons for service.
Switch Joy-Con drift is one of the most common console repair tickets ever. Treat it like DualSense drift: calibrate, clean, replace.
PS5 cousin: DualSense drift. Connection issues: Joy-Con not connecting.
Software first
System Settings → Controllers and Sensors → Calibrate Control Sticks
Follow the on‑screen circle. Update the console first.
Clean
Short bursts of compressed air around the stick. Do not flood with random oils.
DIY replacement
Joy‑Con stick swaps are beginner‑friendly if you have:
- Precision screwdriver set on Amazon
- Tri‑wing / correct bits for your revision
- Steady hands for the ZL/ZR and rail cables
Lite consoles are less DIY‑friendly — prefer service if unsure.
Bottom line
Calibrate → air clean → replace stick / Nintendo repair. Drift is hardware wear, not your Mario Kart skills.
Frequently Asked Questions
Does Nintendo still repair drift for free?
Policies vary by region and over time. Check Nintendo’s current Joy-Con repair program before paying a shop.
Calibration permanently fixed my drift?
If wear is light, maybe for a while. Recurring drift means hardware.
OLED vs Lite vs original?
Same Joy-Con drift physics on detachables. Lite needs different teardown care because Joy-Cons are built-in.
Hall effect sticks worth it?
For DIY veterans, yes as an upgrade. Use reputable kits and take photos during disassembly.
Drift only in one game?
Check that game’s control settings. Still test in System Settings → Controllers calibration.
As an Amazon Associate, I earn from qualifying purchases. Affiliate disclosure
Related fixes
Switch Pro Controller Drift and Connection Fixes
Nintendo Switch Pro Controller stick drift or disconnects — calibration, USB re-sync, battery health, stick replacement, and interference checks.
Read the fixPS5 DualSense Stick Drift Fix
DualSense controller drift on PS5 — deadzone tips, calibration myths, contact cleaner vs replacement modules, and when Sony repair beats DIY.
Read the fixSwitch Joy-Con Not Connecting? Fix Pairing and Rails
Joy-Con won’t connect wirelessly or sync to Switch — airplane mode, resync buttons, charged rails, Bluetooth interference, and worn rail connectors.
Read the fix