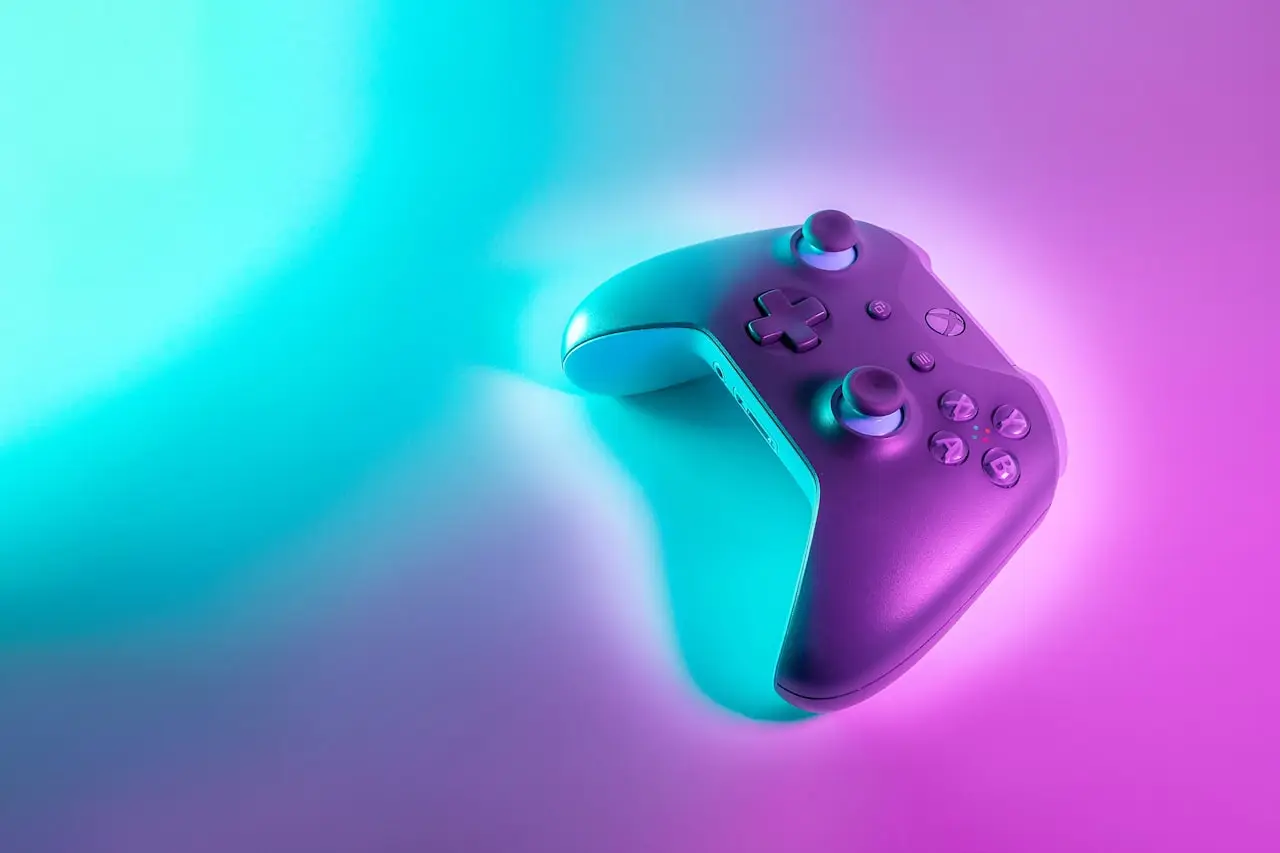
Xbox Controller Stick Drift Fix
Xbox Series / One controller drift — accessories app calibration, deadzones, cleaning, stick module replacement, and when Microsoft warranty repair wins.
Xbox controller stick drift is wear + grit until proven otherwise. Software deadzones mask it; stick modules (or a warranty swap) cure it. Same failure class as PS5 DualSense drift, Joy-Con drift, and Switch Pro Controller drift.
Related: Xbox Series HDMI no signal · PS5 controller not charging · Joy-Con not connecting.
Symptom map
| What you see | Likely cause | First move |
|---|---|---|
| Camera / character crawls idle | Worn pot or grit | Firmware → deadzone → clean |
| Aim pulls one direction in FPS | Classic stick wear | Module replace / warranty |
| Drift only in one game | Soft deadzone too low | Raise in-game deadzone |
| Drift on Xbox and PC | Controller hardware | Not the console HDMI path |
| New after dusty LAN party | Debris under skirt | Compressed air clean |
| Clicky stick + drift | Mechanical wear | Plan module swap |
1. Update firmware before you open anything
On console or PC:
- Install / open the Xbox Accessories app
- Connect the controller (USB-C cable is fine)
- Apply any available firmware update
- Retest in a known title with vibration off so you can feel false inputs
Firmware will not resurrect a shredded potentiometer, but it clears bogus “drift” tickets caused by bad builds and lets you trust the next tests.
2. Deadzones and calibration (temporary relief)
In-game
Most shooters and modern first-party titles expose left/right stick deadzones. Raise them slightly:
- If drift stops → soft wear; playable short-term
- If you still fight the stick at high deadzone → hardware
Windows
Settings → Bluetooth & devices → Devices → controller / Control Panel → Devices and Printers → Game Controllers properties — calibrate as a diagnostic. Expect regression if the pots are worn.
Do not confuse this with console video issues. Idle camera drift is the pad, not HDMI no signal.
3. Clean around the stick skirts
Pocket lint and snack dust skew readings without full pot death.
- Power off / disconnect the controller
- Use short bursts of compressed air around each stick base (hold the stick tilted to each cardinal direction)
- Optional: lightly wipe the skirt with a barely damp isopropyl swab — no liquid into the module
- Retest after 10 minutes dry
If drift vanishes for days then returns, you bought time — schedule modules or warranty.
4. Prove the controller is the patient
| Test | Result meaning |
|---|---|
| Second Xbox pad is fine in the same game | First pad is worn |
| Same drift on PC USB and console wireless | Not wireless interference |
| Only wireless drifts, USB fine | Rare RF / interference chase; still often hardware |
| Drift in Accessories test / Steam test input | Hardware |
Borrow a friend’s pad for one match. Shop benches stock a known-good Series controller for exactly this reason.
5. Replace stick modules or use warranty
Warranty / manufacturer repair
If eligible, Microsoft repair / replacement beats a stripped shell. Document purchase date before you void anything with DIY.
DIY / shop module swap
Out of warranty, replacing the analog stick modules is the real fix — same decision tree as DualSense and Joy-Con work:
- Match replacement sticks to your controller revision
- Use proper security / precision bits — an 11-piece precision screwdriver set on Amazon exists so you don’t cam-out the hidden screws
- Mind ribbon cables, rumble motors, and bumper posts
- Recalibrate after reassembly; verify both sticks and every face button
Hall-effect upgrades
Popular for people who already live in controllers. Use reputable kits, follow model-exact shells, and expect a learning curve on centering. Not a day-one step for a controller still under warranty.
6. Related failures (don’t misdiagnose)
- Bumpers / triggers soft after drops — different parts from sticks
- Won’t connect / drops — batteries, wireless pairing, or board issues (mirror Joy-Con connect logic: Joy-Con not connecting)
- Only one game drifts — check that title’s deadzone and aim-assist settings first
Cross-link mindset: if you can fix DualSense drift, you already understand Xbox drift — different screws, same pots (DualSense drift guide).
Do / Don’t
Do
- Update via Xbox Accessories first
- Raise deadzones to grade severity
- Clean skirts before ordering parts
- Use proper bits for module swaps (precision set)
Don’t
- Blame the Series X HDMI path for camera drift
- Flood the stick module with isopropyl
- Strip security screws with a butter knife
- Skip the second-controller proof test
Bottom line
Firmware → deadzones → clean → prove with a second pad → replace sticks or warranty. Calibration is a bandage. Worn potentiometers need modules — the same story as DualSense, Joy-Con, and Pro Controller drift.
Frequently Asked Questions
Same as DualSense / Joy-Con drift?
Same potentiometer wear class. Calibration and deadzones help briefly; replacing stick modules (or warranty) is the lasting fix — see DualSense and Joy-Con guides.
Can Windows or Xbox Accessories calibrate away drift?
Xbox Accessories / Windows Game Controllers can reduce mild drift and update firmware. Worn pots return — treat calibration as a test, not a cure.
Are Hall-effect stick upgrades worth it?
Popular DIY path for veterans who already open controllers. Use reputable kits matched to your exact shell revision; bad kits create new centering issues.
Does compressed air fix drift permanently?
Only when grit under the skirt was the whole problem. Recurring camera drift after cleaning means the sensors are worn.
Warranty vs DIY module swap?
If you’re under Microsoft warranty / eligible repair, use it. Out of warranty, module replacement with proper bits is the standard shop fix.
As an Amazon Associate, I earn from qualifying purchases. Affiliate disclosure
Related fixes
PS5 DualSense Stick Drift Fix
DualSense controller drift on PS5 — deadzone tips, calibration myths, contact cleaner vs replacement modules, and when Sony repair beats DIY.
Read the fixSwitch Joy-Con Drift Fix: Diagnose, Clean, Replace
Nintendo Switch Joy-Con analog drift — calibration, button combos, compressed air, replacement sticks, and when to send Joy-Cons for service.
Read the fixSwitch Pro Controller Drift and Connection Fixes
Nintendo Switch Pro Controller stick drift or disconnects — calibration, USB re-sync, battery health, stick replacement, and interference checks.
Read the fix